AI Try‑On tips: lighting, angle, and what to look for before checkout
Virtual fittings are fast and fun—if the setup is right. Use these pro tips to make AI Try‑On previews closer to how your sunglasses or blue‑light frames will look and feel in real life. The steps below are quick to do at home in the U.S. or while traveling, and they work whether you’re trying styles on a laptop camera or your phone.
Set your scene: lighting that flatters and reads true
- Face a window or bright doorway for soft, even light. Avoid sitting with a window behind you, which throws your face into shadow and can make frames look darker or heavier than they are.
- Turn off harsh overheads that create top-down shadows on your eyes and nose bridge. If you need artificial light, use two lamps placed left and right at about eye level.
- Neutral background (light gray, cream, or a tidy wall) helps the AI find your face outline and keeps color rendering more accurate.
- Match your real use case: if you’ll wear tinted lenses outdoors, step onto a shaded porch around midday; for office or home setups in the U.S., test near your desk lighting to judge blue‑light frames realistically.
Nail the camera angle and distance
- Camera at eye height: stack books or use a stand so the lens is level with your eyes. Tilting up or down distorts how wide and tall frames appear.
- Arm’s‑length distance (about 18–20 inches/45–50 cm) keeps facial proportions natural. Too close exaggerates the nose and narrows temples; too far shrinks frames.
- Look straight ahead with a relaxed jaw. A slight chin‑down angle (5–10°) can mimic how others usually see you and shows if the lower rim touches your cheeks when you smile.
- Tuck hair behind ears so the app can place temples correctly. If you wear bangs, try one shot with bangs down and one swept aside to compare.
Quick angle decoder
| Setup | What it gets right | What can mislead |
|---|---|---|
| Eye‑level, straight on | True frame width, bridge position | May hide cheek contact when you smile |
| Eye‑level, slight chin down | Lower‑rim/cheek interaction | Can make top bar look thicker |
| Camera below eye line | None | Overstates lens height; frames look oversized |
| Camera above eye line | Top‑bar contour | Understates lens height; bridge can appear too tight |
What to watch on‑screen: five fit signals
- Frame width vs. face width: The outer edges should land around the widest part of your face. If corners float far past your temples, consider a slimmer silhouette.
- Bridge contact: Look for even contact at the top of your nose without gaps or pinching. If you tend to see red marks, bookmark nose bridge comfort: low vs. high bridge fits.
- Cheek touch: Smile gently. If the lower rim rides your cheeks, you’ll likely get smudges. For a deeper dive, see how lens height affects cheek contact and smudging.
- Temple path: From hinge to ear, the temple should travel straight without flaring out dramatically. If you’re sensitive behind the ear, read temple length and behind‑ear comfort.
- Brow alignment: For most faces, a top rim that echoes your brow line looks balanced. If you love bolder statements, learn to pair them with your look in balancing statement frames with hairstyle and accessories.
Color and lens checks you can trust
- Skin tone test: Hold a white sheet near your collarbone on‑camera to neutralize color cast. Then toggle tints. If you’re previewing smoke vs. brown, compare how your eye area reads: smoke cools and sharpens; brown usually softens contrast.
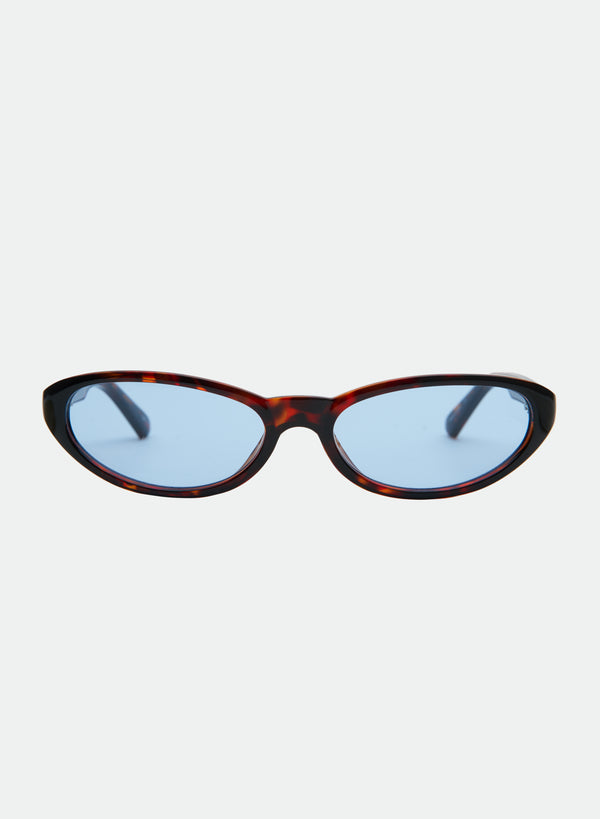
- Blue‑light lenses: Expect a faint cool reflection in some lighting—that’s normal in many coatings. Try on desk‑ready shapes like ABBY Blue Light if you prefer a modern square, or HAZEL Blue Light for a sleek cat‑eye that stays tidy on video calls.
- Outdoor tints: Preview a darker gradient if you commute at bright midday, or a softer fade for variable weather. For a clean rectangular look, try a smoke fade similar to DARCY - Black/Smoke Fade.
Style decisions: match silhouette to face shape and proportions
Use your AI Try‑On results alongside timeless proportion cues. If you’re unsure which outline flatters your jawline or cheekbones, skim face shapes decoded: rectangles, cat‑eyes, and aviators that flatter and choosing oversized without overwhelm. These guides help translate what you’re seeing on‑screen into confident choices.
Decision matrix: common silhouette tradeoffs
| Silhouette | Why you might choose it | Potential tradeoff |
|---|---|---|
| Cat‑eye | Subtle lift at outer corners; sharp on heart/oval faces | Can accentuate angular brows if very upswept |
| Rectangle | Clean lines; pairs well with straight brows | Too boxy can over‑widen narrow faces |
| Aviator | Easygoing, versatile; suits many face shapes | Drop lens height may brush high cheekbones when smiling |
| Oversized | Fashion‑forward statement; strong UV coverage | Heavier visual weight; check temple stability |
Before‑you‑checkout checklist
- Confirm measurements against your current favorite pair. If you don’t know where to start, use find‑your‑fit in 2 minutes.
- Run the smile test to check cheek contact and lens smudge potential.
- Check nose bridge comfort using your try‑on stills—any sharp shadow at the bridge can hint at a tighter fit. See troubleshooting common fit issues if you spot gaps or pinch points.
- Consider wear time: If you work long hours on screens, a light blue‑light frame like FRANKIE Blue Light or ZOYA Blue Light can feel less visually heavy while filtering blue light.
- Preview in your go‑to settings: indoor desk light for weekdays; shade outdoors for weekend errands. Consistency builds confidence.
Try‑on suggestions by daily scenario
- Desk to commute: Pick minimal silhouettes that won’t overwhelm on video. If you like a soft square, compare a warm translucent acetate like ABBY in Transparent Maple to see how subtle color plays with your skin tone. For more picks that stay comfortable all day, see lightweight all‑day picks.
- Weekend sunlight: Darker smoke lenses project polish on bright streets. A clean, modern silhouette similar to KENNY - Black/Smoke keeps lines crisp in photos.
- Statement moments: Try bold edges and lifted corners that read editorial in selfies without sliding. A confident cat‑eye like PAPILLON - Black/Smoke adds definition; balance volume using tips from balancing statement frames.
- Color play: If you wear neutrals, a wine‑tone frame such as ABBY in Burgundy can warm the face without clashing; verify in daylight and indoor light to see which you prefer.
Troubleshooting quick fixes
- Frames look wider in the preview than IRL: You’re probably holding the camera too low or too close. Re‑shoot at eye level and arm’s length.
- Temples don’t line up with your ears: Tuck hair fully behind ears and re‑center your face. Remove chunky earrings for the photo pass.
- Reflections hide your eyes: Rotate slightly left or right until glare leaves the lens area; keep your main light in front of you.
- Unsure on stability: Look sideways in the preview—if temples flare dramatically, choose a straighter temple design or learn when a subtle wrap helps in wrap and contour.
- Minor fit tweaks after delivery: Many small adjustments are easy at home; see fit tweaks you can do at home.
FAQ: quick answers before you screenshot and save
- Should I use live camera or upload a photo? Live camera helps you make micro‑adjustments to angle and distance. If your lighting is fixed (e.g., office desk), a well‑lit uploaded photo can be faster for comparing multiple frames consistently.
- Why does the try‑on look different on my phone vs. laptop? Small shifts in camera focal length and screen calibration change how width and color render. Re‑create the same setup (eye‑level camera, arm’s‑length distance, front‑facing light) on both and compare again.
- Do I need to remove makeup or jewelry? Not required. For accuracy, avoid heavy highlighter on the nose bridge and tuck hair behind ears so the software can place temples and bridge correctly.
Helpful next steps
If your AI Try‑On images look good but you’re between sizes or silhouettes, revisit measurement basics with find‑your‑fit in 2 minutes, then refine by comfort using nose bridge comfort. Ready to compare a few desk‑friendly frames side by side? Open a couple of blue‑light options such as ABBY Blue Light, HAZEL Blue Light, and KENNY - Tort/Blue to see how shape, color, and lens tint read in your real lighting.